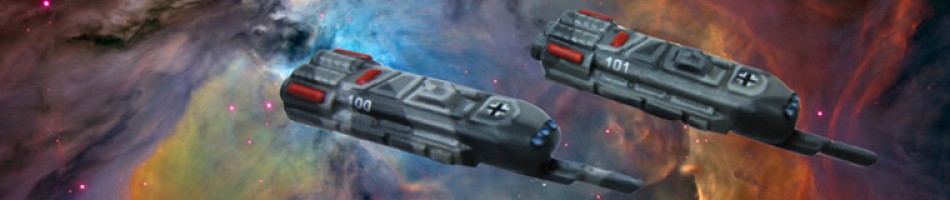
Painting the ONESS Fleet
I thought I would share how I painted these ships. I borrowed the technique used to create the two tone paint job from the scale model community, and it works really well on this scale as well. To be honest when I was planning how to paint these little guys I was originally planning to try a WWI ‘Dazzle’ scheme that was used on naval vessels. However after doing some research I realized it would be too difficult and time consuming, I still think it could be pulled off but it woudl need ships that have smoother hulls. So I decided to try a two tone camo. One of the things I have started doing that I find really handy is to do a test mini, in this case I used a Battletech miniature. Doing this can help me identify anything that might be a problem, but more importantly give me a better idea of how the whole fleet will look when finished, below is the test mech.

I used Tamiya paint for these, as it works really well in my airbrush. My airbrush doesn’t get much use on miniatures, but it is great for base coating. If you don’t have one you can always use Tamiya spray cans, just be careful as they spray a lot of paint. So here are the colours, quite basic just Sky Grey and Dark Grey, the white is just for the highlighting.

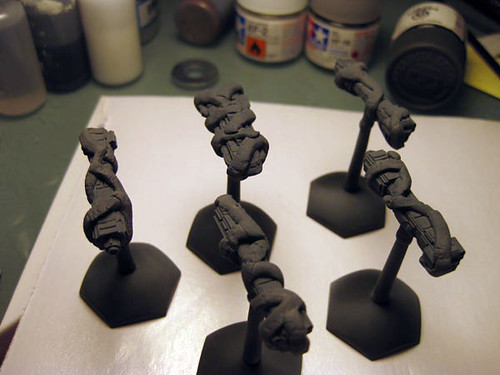
So the ships are first primed black using an automotive primer, I use this as it works just as well as anything else I have found and it is cheap.

Next they are basecoated in the Sky Grey, two thin coats, don’t want to cover the detail. I start with the lighter of the two, as I want to be able to do the next coat in one go, so the dark should cover the light easier.

Then comes the neat part, using BlueTac, used for hanging posters and things, we apply a pattern.


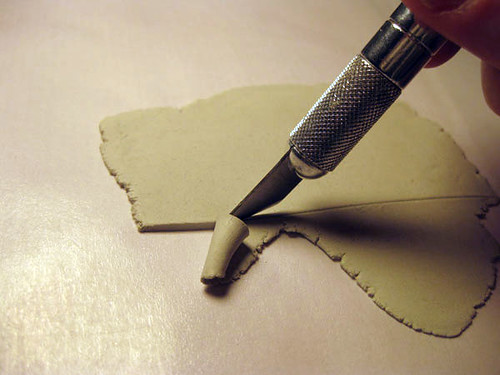


Now you need to take care that you push the bluetack down very well, or else paint will get under and spoil the job, see below.

Don’t forget to do the bottom as well, this needs a little thought on how and where the strips will meet up.

Alright, here they are all ready to have the next colour sprayed on.

So into the spray booth, and on goes the Dark Grey.
Now we just peel off the bluetack, just use your fingers you don’t want to scratch the paint. Don’t worry about little bits sticking, they are easily removed by neading some bluetack until it is soft and then repeatedly pressing it onto the remaining pieces and pulling it off again. Just keep doing it and eventually it will all come off. You can see some of it still stuck on mine below.

Alright there is step one all done, the whole fleet ready to move on. I will cover the next steps in a follow-up post.


It’s very simple !
November 28, 2011 at 9:46 am